Overview:
CI/CD (Continuous Integration/Continuous Deployment) is a modern software development practice that automates the process of building, testing, and deploying software changes, helping teams deliver high-quality software faster and more reliably.
The focus of this article is to create a CI/CD pipeline for automating the deployment of a static website, ensuring that any changes made to the project are automatically deployed, facilitating faster and more efficient software delivery.
Here is the architectural diagram for our project

Step 1: Create repo on GitHub and commit code to it.
we will create a GitHub repository and we commit our code to it because this will serve as the “source provider” in the pipeline.

git commands

GitHub repository
Step 2: Create and configure an S3 bucket. Next, we will create an S3 bucket and will configure it to host a static website. S3 bucket will serve as the. “Deploy provider” in CI/CD pipeline for hosting website and viewing changes via its endpoint.
To know how to create the s3 bucket to host a static website click here.

Step 3: Create a CI/CD pipeline with Amazon CodePipeline
Amazon CodePipeline is a continuous integration and continuous delivery (CI/CD) service that automates software release processes, enabling teams to build, test, and deploy code changes quickly and reliably.
Services > Codepipeline > create pipeline

pipeline settings
Give pipeline a name and click next to ‘Add storage stage’.
Add GitHub v2 as source provider in CodePipeline, using specified repo and master branch for source code. Choose connection and repo.
Note:
Click on ‘Connect to GitHub’ to create a new connection if you do not have an existing one.

Add source stage (1)

Add source stage (2)
Then click on next to proceed to ‘Add build stage’. The build stage is optional so we will skip it for this demonstration.
Click Next to go to ‘Add deploy stage’.
Add S3 bucket as the Deploy Provider for hosting the website. Changes in source code will trigger CI/CD pipeline, reflecting updates in S3 bucket and website UI.

Click next to Review and then click create pipeline.
If the created pipeline succeeds it will look like the image below.

Step 3: Verify that you can reach the static website
Navigate to the S3 bucket > properties > under Static website hosting click on ‘Bucket website endpoint’ to access the website again.

S3 bucket

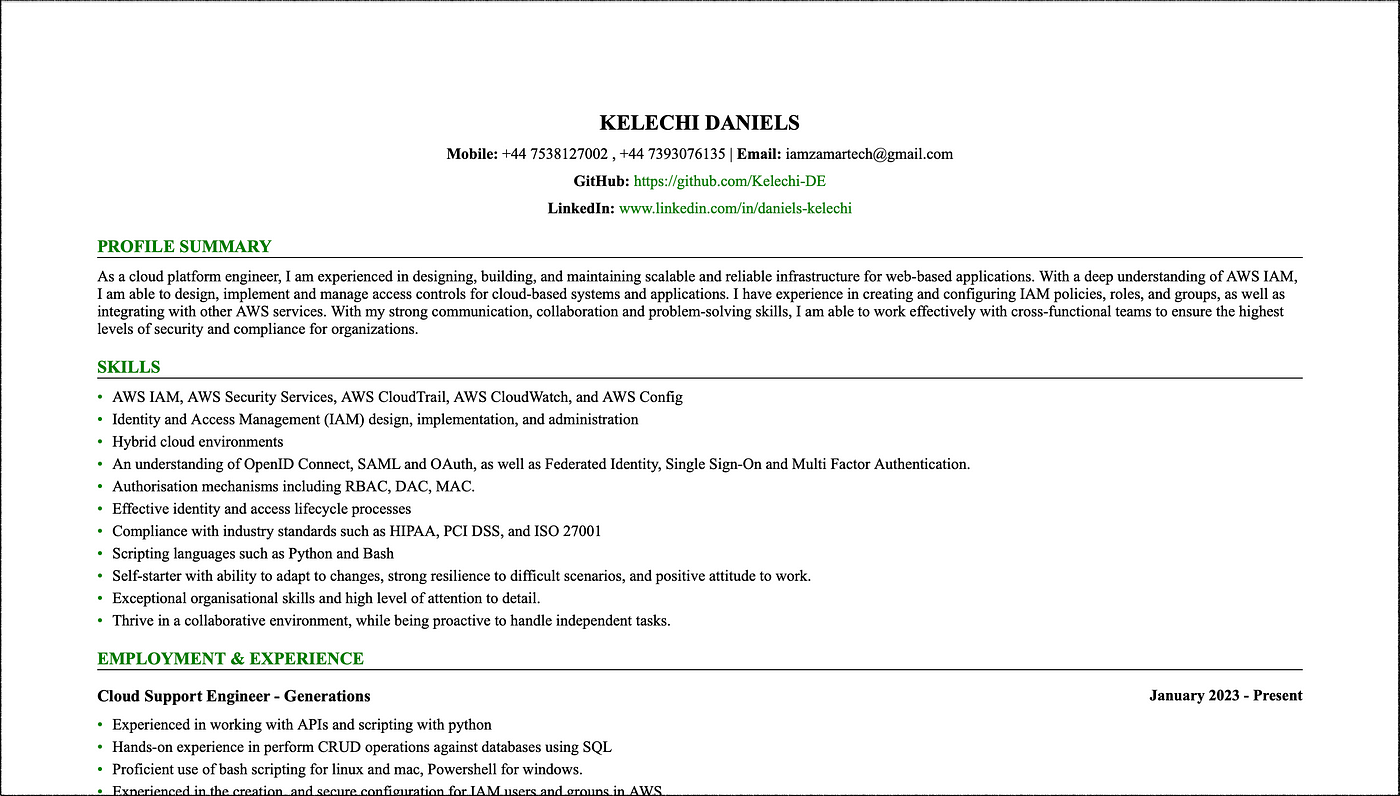
CV website
Step 4: Verify if changes in code are automatically deployed through the CI/CD pipeline.
Next step is to verify if auto-deployment is working by making changes to code or files to check if updates are automatically reflected in the deployed website.
For this step, i edited the ‘resume.css’ file to change the formatting of the index.html page. Then i committed and pushed changes to the GitHub repository.

Git commands
The pipeline goes into progress state as soon as we did the above step as shown in the below diagram.

pipeline in progress
After sometime, the pipeline status changes to ‘successful’ to indicate our code successfully deployed as seen below.

successful deployment
Next, we repeat step 3 to confirm our code changes were implemented automatically.
As seen below, our changes we made were automatically deployed.

Summary:
CI/CD (Continuous Integration/Continuous Deployment) automates the software development process. This article focuses on creating a CI/CD pipeline for a static website using GitHub, S3 bucket, and Amazon CodePipeline. Steps include creating a GitHub repo, configuring an S3 bucket to host the website, setting up a CodePipeline with source and deploy stages, and verifying automatic deployment of changes. After successful deployment, changes made to code or files are automatically reflected in the website, demonstrating the effectiveness of the CI/CD pipeline.
Thanks for reading! 🙂
